Friday, October 21, 2016

Android Bluetooth Arduino

How to build a Robot on an Arduino that can be controlled by an Android apps:
by J.B. Wylzan


Project 34:  Arduino Controlled by Android

This project shows how to control an andruino Led 
using Bluetooth and Android smartphone.


Android Bluetooth Arduino from JB Wylzan on Vimeo.


HC-05 Circuit Wiring:  
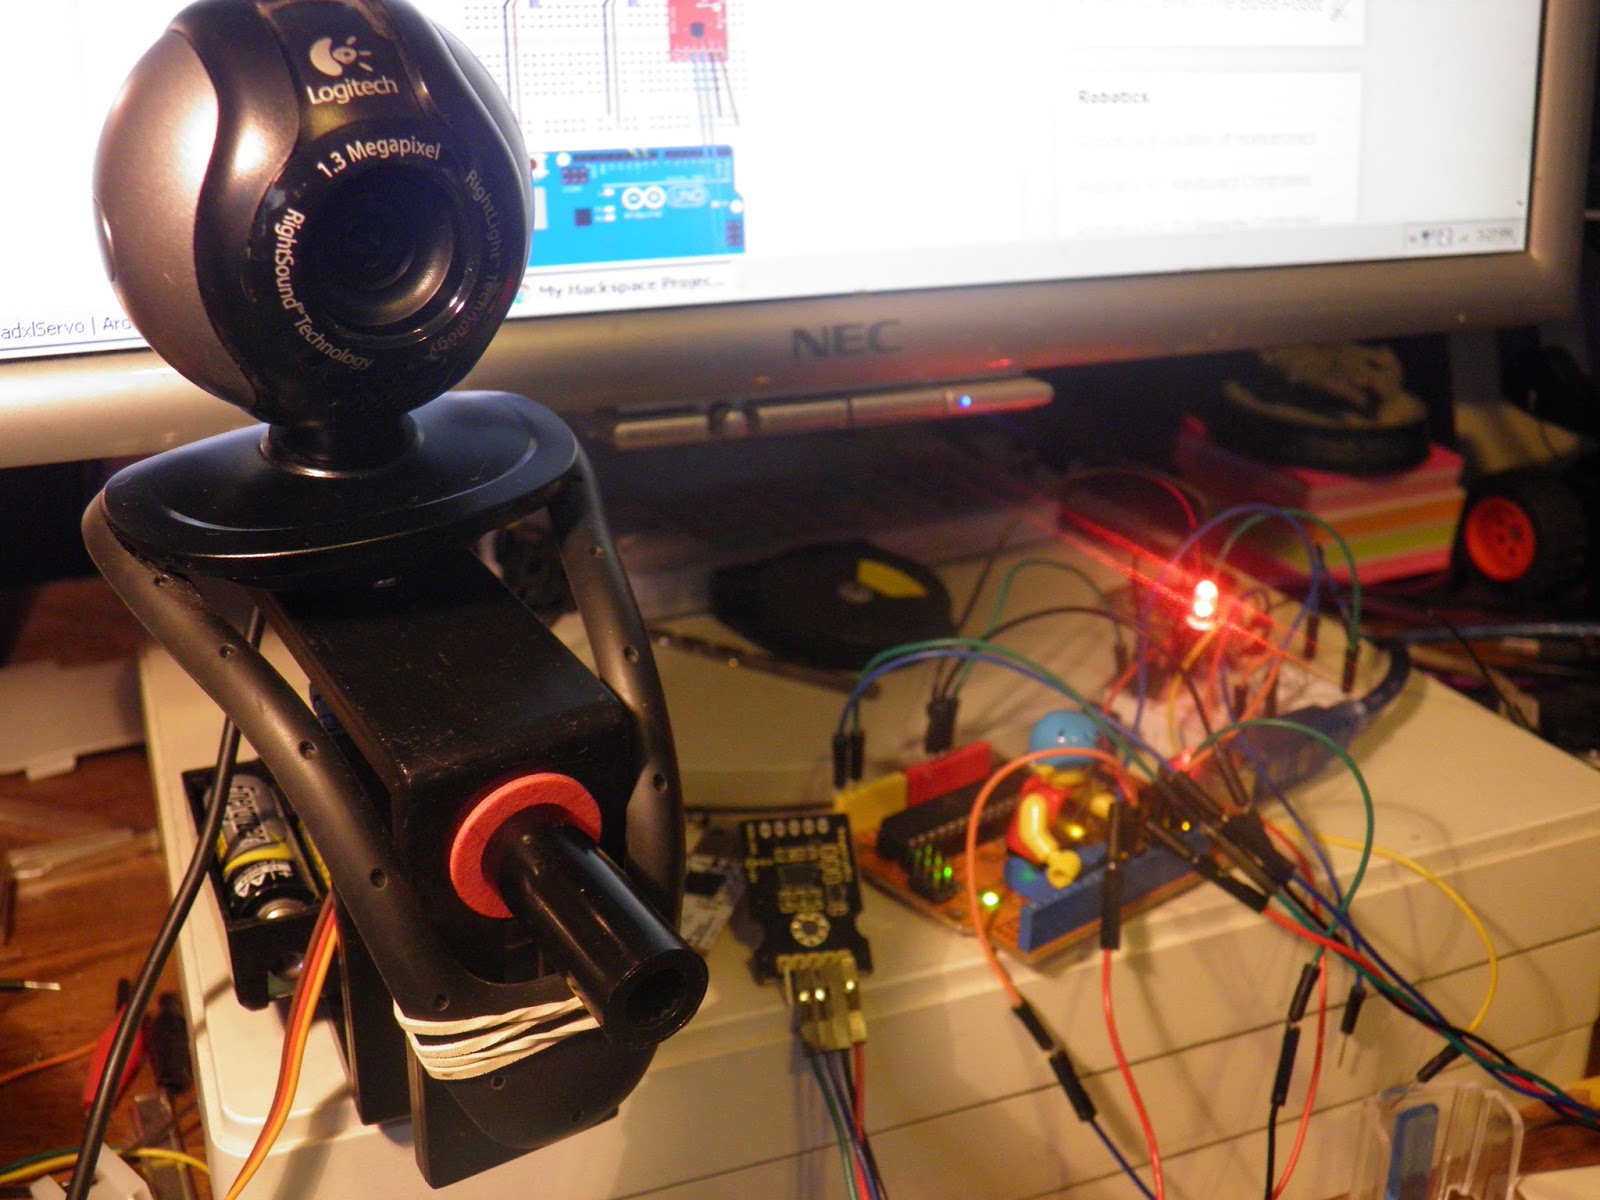
   HC05 Gnd      - Arduino pin Gnd
   HC05 3.3        - Arduino pin 3.3v
   HC05 Tx         - Arduino pin 3 (Tx)
   HC05 Rx         - Arduino pin 2 (Rx)
  
Block Diagram:

Note: use pin 2 and pin 3 for Rx and Tx
Hardware:
HC05 bluetooth 

Arduino phone (samsung galaxy) 
9v battery 
1 LEDconnecting wires
breadboard
Arduino R3 UNO board


Code 34:
/* ===============================================================
      Project # 34: Android Smartphone with Bluetooth
      Author: J. B. Wylzan 
      Website: http://www.ihackrobot.blogspot.com
      Abstract: How to control an led using smartphone
================================================================== */

#include <SoftwareSerial.h>
SoftwareSerial BTserial(2, 3); // RX | TX

 int ledPin = 12;
char data = 0;  

void setup()
{
     pinMode(ledPin, OUTPUT);
     BTserial.begin(9600);
     // Serial.begin(9600);
     // serial.println("Hello World");
}

void loop()
{
    if (BTserial.available())
    {
    data = BTserial.read();              //Read incoming value and store it into data
    if(data == '1')                            //when data is equal to 1
      digitalWrite(ledPin, HIGH);     // then LED is ON
    else if(data == '0')                     //when data is equal to 0
      digitalWrite(ledPin, LOW);     // then LED is OFF
       }
}

Layout:


Challenges:
1. Try to control 2 leds using the smartphone, 
2. Try to control 3 servos.
3. Create an apps
4. Use smartphone terminal and serial monitor as a chatroom/text messaging
5. Control a robot using an android smartphone bluetooth terminal
6. Control a robot using the some of the iHackRobot apps just like as shown below


Arduino Robot controlled by an Android Smartphone:


Arduino Robot controlled by Android Smartphone
from iHackRobot on Vimeo.

A more sophisticated arduino android app. The app is an arduino controller that can turn ON and OFF six appliances in your home and even you car ignition by simply swiping the sliders on either ends. You can also use this app to control leds, servos, toy cars and even your robots. The great fun about this app is you can turn OFF all appliances by simply shaking the phone.

Home Appliances Control Tablet

Home Appliances Control  Phone

WARRANTY:
ALL Android Apps on this site are provided "As Is" ***.
*** AS IS means YOU EXPRESSLY UNDERSTAND AND AGREE THAT YOUR USE OF THE APPLICATION(APP) IS AT YOUR SOLE RISK AND IS PROVIDED "AS IS" AND "AS AVAILABLE" WITHOUT WARRANTY OR GUARANTY OF ANY KIND. YOUR USE OF THE APP AND ANY MATERIAL DOWNLOADED OR OTHERWISE OBTAINED THROUGH THE SITE IS AT YOUR OWN DISCRETION AND RISK AND YOU ARE SOLELY RESPONSIBLE FOR ANY DAMAGE TO YOUR COMPUTER SYSTEM OR OTHER DEVICE OR LOSS OF DATA THAT RESULTS FROM SUCH USE. THE APP WAS ONLY TESTED ON SAMSUNG GALAXY S5 SM-G900A AND ANDROID SOPHIX TABLET MODEL NO: TAB 730G AS EMULATOR. THE APP MIGHT NOT WORK WITH ALL OTHER SMARTPHONES AND TABLETS.

Disclaimer:  We shall not be liable for any loss or damage of whatever nature - direct, indirect, consequential, or otherwise - which may arise as a result of your use of any information on this website. However, if you are interested in using any of the projects for personal or educational purposes, please inform the author by email. 

Public Domain Notice: Copyright (c) 2000. All rights reserved. This article is part of a book entitled iHackRobot. Copies are welcome to be shared or distributed publicly as long proper citations are observed. Please cite as follows: Biotronics: The Silver Species, Joey Lawsin, 1988, USA.
================================================================== 
The Homotronics® and Homodruinos® logos are registered trademarks.
Copyright Biotronics© Inc. iHackRobot®. All Rights Reserved.
Patent Pending. 2000 © ®

L.A.W.S.I.N. Educational Production
 ================================================================== 


Sunday, October 2, 2016

Three Axis Accelerometer ADXL345

How to build a Robot on an Arduino that can be controlled by ADXL345 accelerometer:
by J.B. Wylzan


Project 27:  Accelerometer ADXL345

This project shows how to test a 3-axis accelerometer
through the Serial Monitor and control a video camera.


Hardware:
1 accelerometer; ADXL345
1 prototype shield
3 servos (optional)
connecting wires scl5 sda4 cs2
Arduino R3 UNO board

Block Diagram:


Serial Monitor Test:
/* ===============================================================
      Project # 27: Accelerometer ADXL345 Testing
      Author: J. B. Wylzan with the Arduino Community
      Website: http://www.ihackrobot.blogspot.com
      Abstract: How to test a 3-axis accelerometer
================================================================== */

#include <Wire.h>

#define ADXL345_ADDRESS (0xA6 >> 1)
#define ADXL345_REGISTER_XLSB (0x32)
int accelerometer_data[3];
                                 
void i2c_write(int address, byte reg, byte data) {                                                                    
Wire.beginTransmission(address);      
Wire.write(reg);                              
Wire.write(data);                              
Wire.endTransmission();
}
                                             
void i2c_read(int address, byte reg, int count, byte* data) {
int i = 0;                                                
Wire.beginTransmission(address);        
Wire.write(reg);                                  
Wire.endTransmission();
Wire.beginTransmission(address);
Wire.requestFrom(address, count);
while(Wire.available())                  
{
char c = Wire.read();                    
data[i] = c;
i++;
}
Wire.endTransmission();
}

void init_adxl345() {
byte data = 0;
i2c_write(ADXL345_ADDRESS, 0x31, 0x0B);             // 13-bit mode +_ 16g
i2c_write(ADXL345_ADDRESS, 0x2D, 0x08);             // Power register
i2c_write(ADXL345_ADDRESS, 0x1E, 0x00);             // X
i2c_write(ADXL345_ADDRESS, 0x1F, 0x00);             // Y
i2c_write(ADXL345_ADDRESS, 0x20, 0x05);              // Z

// View values on the serial monitor!
i2c_read(ADXL345_ADDRESS, 0X00, 1, &data);
if(data==0xE5)
Serial.println("Success");
else
Serial.println("Failure");
}

void read_adxl345() {
byte bytes[6];
memset(bytes,0,6);
i2c_read(ADXL345_ADDRESS, ADXL345_REGISTER_XLSB, 6, bytes);
for (int i=0;i<3;++i) {
accelerometer_data[i] = (int)bytes[2*i] + (((int)bytes[2*i + 1]) << 8);
}
}

void setup() {
Wire.begin();
Serial.begin(9600);
for(int i=0; i<3; ++i) {
accelerometer_data[i] = 0;
}
init_adxl345();
}

void loop() {
read_adxl345();
Serial.print("x-y-z: ");
Serial.print(float(accelerometer_data[0])*3.9/1000);    
Serial.print("\t");
Serial.print(float(accelerometer_data[1])*3.9/1000);
Serial.print("\t");
Serial.print(float(accelerometer_data[2])*3.9/1000);
Serial.print("\n");
delay(100);
}


Code # 27:
/* scl = a5   sda = a4  */

#include <Wire.h>
#include <Servo.h>
Servo servox;
#define device (0xA6 >> 1)   //(0x53)    
int ledpin = 11;
byte mem[6] ;
int i;
int x;

void setup(){
 pinMode(ledpin,OUTPUT);
 digitalWrite(ledpin,HIGH);
 Wire.begin();
 servox.attach(9);
 servox.write(90);
 delay(25);
writeTo(device, 0x2D, 8);
}

void loop(){
 int regAddress = 0x32;
 digitalWrite(ledpin,LOW);
 delay(10);
 digitalWrite(ledpin,HIGH);
 readFrom(device, regAddress, 6, mem);

 x=0;
 for(i=1;i<=5;i++){
 x += (((int)mem[1]) << 8) | mem[0];
 delay(10);
 }

 x/=5;
 if(x<-255)x= -255; else if (x>255)x=255;
 x=map(x, -255, 255, 0, 180);
 servox.write(x);
 delay(200);
}

void writeTo(int DEVICE, byte address, byte val) {
 Wire.beginTransmission(DEVICE);
 Wire.write(address);
 Wire.write(val);
 Wire.endTransmission();
}

void readFrom(int DEVICE, byte address, int num, byte mem[]) {
 Wire.beginTransmission(DEVICE);
 Wire.write(address);
 Wire.endTransmission();
 Wire.beginTransmission(DEVICE);
 Wire.requestFrom(DEVICE, num);

 int i = 0;
 while(Wire.available())  {
 mem[i]= Wire.read();
 i++;
 }
 Wire.endTransmission();
}


Challenge:
1. Try to control 2 servos, 
2. Try to control 3 servos.
3. Add a Laser beam or a turret
4. Try the Alert Detection below 


/*
Example      Sabotage Detection
Author        Stefan Hermann
Date         5.12.2011
*/

int myState=0;
int greenLedPin=11;
int redLedPin=7;
int blueLedPin=3;
int buttonPin=2;
int potPin=3;
int accZPin=0;
int accYPin=1;
int accXPin=2;

int startAccZ;
int startAccY;
int startAccX;

void setup(){
  pinMode(greenLedPin,OUTPUT);
  pinMode(redLedPin,OUTPUT);
  pinMode(blueLedPin,OUTPUT);
  pinMode(buttonPin,INPUT);
  startAccZ=analogRead(accZPin);
  startAccY=analogRead(accYPin);
  startAccX=analogRead(accXPin);
}

void alertBlinking(){
  digitalWrite(redLedPin,HIGH);
  delay(50);
  digitalWrite(redLedPin,LOW);
  delay(100);
  digitalWrite(blueLedPin,HIGH);
  delay(50);
  digitalWrite(blueLedPin,LOW); 
  delay(100);  
}

boolean senseAcceleration(int myPotVal){
  boolean myReturn=false;
  myPotVal=map(myPotVal,0,1023,0,10);
  if (analogRead(accXPin)>startAccX+myPotVal) myReturn=true;
  if (analogRead(accYPin)>startAccY+myPotVal) myReturn=true;
  if (analogRead(accZPin)>startAccZ+myPotVal) myReturn=true;
  return myReturn;
}

void loop(){
  //alertBlinking();
  switch (myState){
  case 0: //idle
    if (senseAcceleration(analogRead(potPin))==true) {
      digitalWrite(greenLedPin,LOW);
      myState=1;
    } else {
      digitalWrite(greenLedPin,HIGH);    
    };
    break;
  case 1: // alert
    alertBlinking();
    if (digitalRead(buttonPin)==HIGH){
      myState=0;
    }
    break;
  }
  delay(10);
}


Disclaimer:  We shall not be liable for any loss or damage of whatever nature - direct, indirect, consequential, or otherwise - which may arise as a result of your use of any information on this website. However, if you are interested in using any of the projects for personal or educational purposes, please inform the author by email. 

Public Domain Notice: Copyright (c) 2000. All rights reserved. This article is part of a book entitled iHackRobot. Copies are welcome to be shared or distributed publicly as long proper citations are observed. Please cite as follows: Biotronics: The Silver Species, Joey Lawsin, 1988, USA.

================================================================== 
The Homotronics® and Homodruinos® logos are registered trademarks.
Copyright Biotronics© Inc. iHackRobot®. All Rights Reserved.
Patent Pending. 2000 © ®

L.A.W.S.I.N. Educational Production
 ==================================================================