How to build and control an RGB LED on an Arduino:
by J.B. Wylzan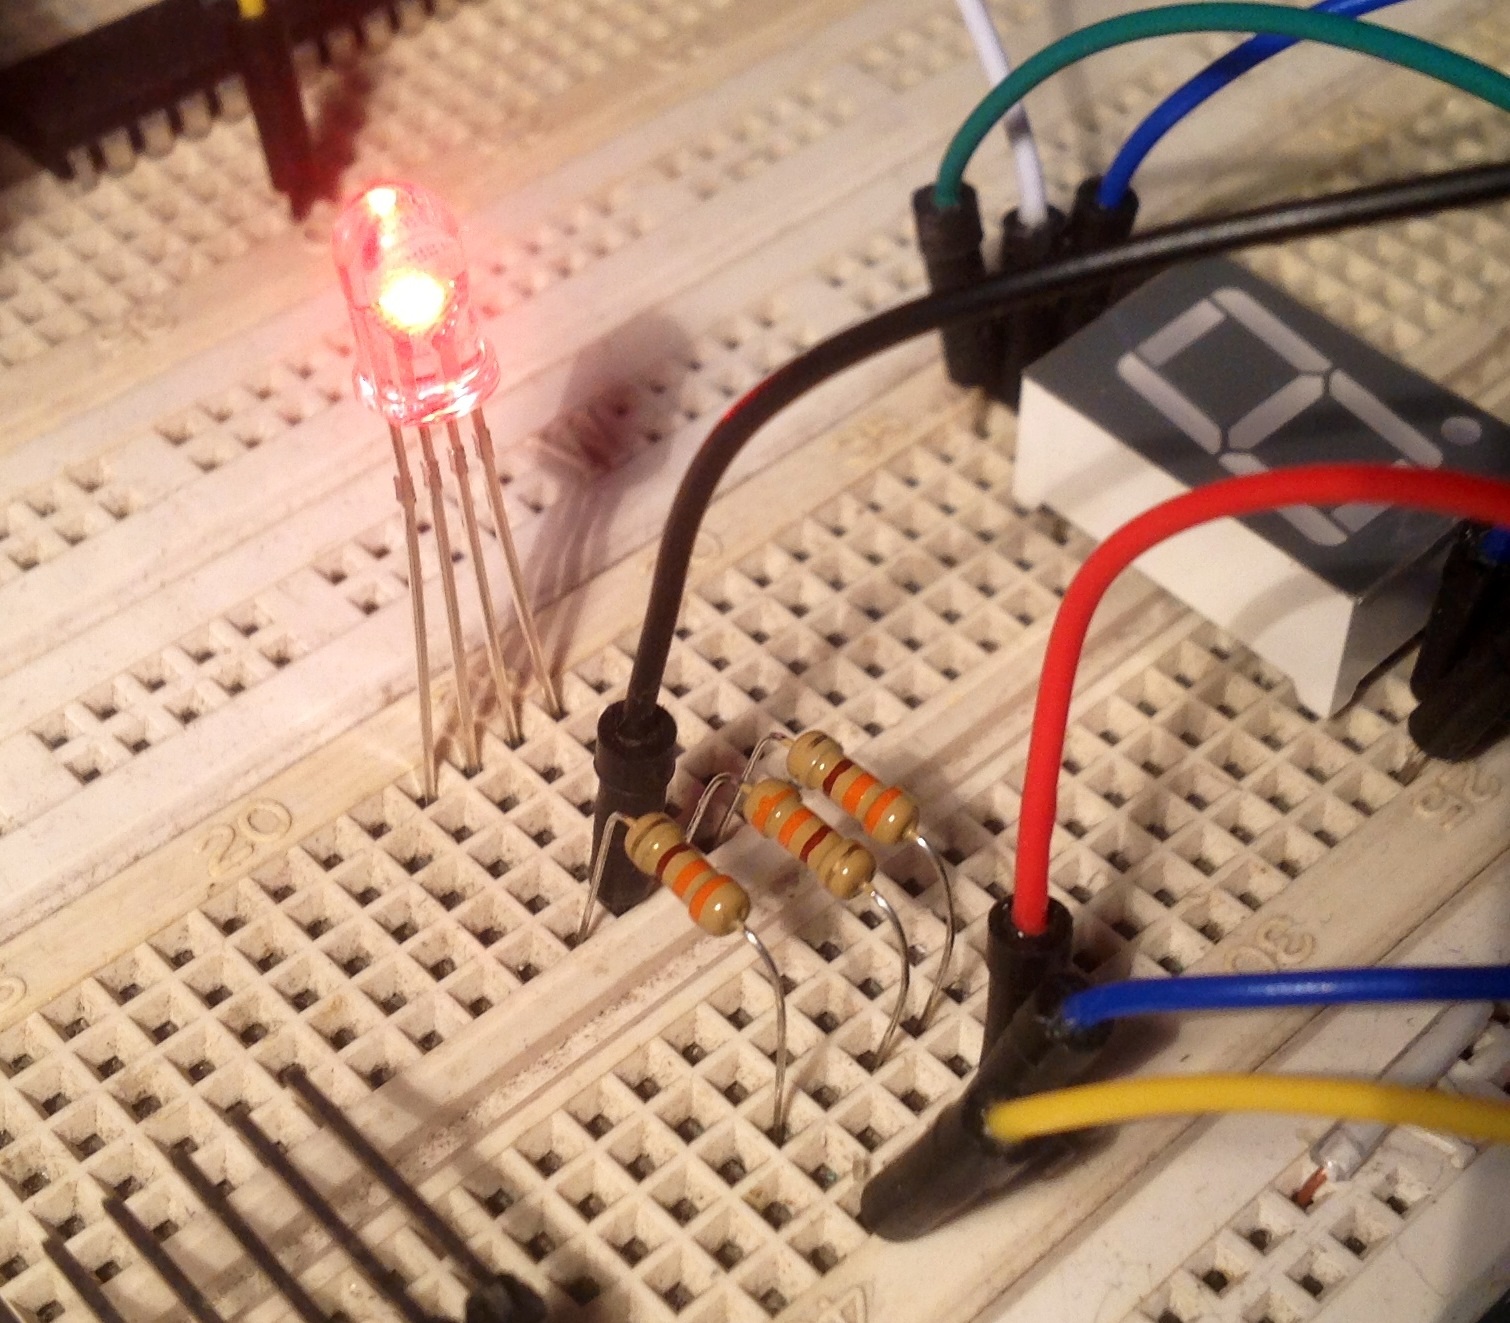
Project 13: Morse Code
This project shows how to control an RGB Led colors using **modular programming.
RGB led
3 resistors
connecting wires
breadboard
Arduino R3 UNO board
Block Diagram:

iHackLab Morse Code
powered by Arduino
sketched by J.B. Wylzan
modified by Lawsinium
The RGB LED will display the morse code for I LOVE YOU.
This example code is public domain.
*/
int redPin = 8;
int greenPin = 7;
int bluePin = 6;
void setup()
{
pinMode(redPin, OUTPUT);
pinMode(greenPin, OUTPUT);
//pinMode(bluePin, OUTPUT);
}
// .. / .-.. --- ...- . / -.-- --- ..- <<< I LOVE YOU
void loop()
{
pause();
dit(); dat(); dit(); dit();
dat(); dat(); dat();
dit(); dit(); dit(); dat();
dit();
pause();
dat(); dit(); dat(); dat();
dat(); dat(); dat();
dit(); dit(); dat();
delay(1000);
}
// ...................................................................................................................
 |
| ( Only for Reference; don't add the pic on your sketch ) |
void dit()
{
digitalWrite(redPin , HIGH);
delay(250);
digitalWrite(redPin , LOW);
delay(250);
}
void dat()
{
digitalWrite(greenPin , HIGH);
delay(1000);
digitalWrite(greenPin , LOW);
delay(250);
}
void pause()
{
digitalWrite(bluePin, HIGH);
delay(1000);
digitalWrite(bluePin, LOW);
delay(1000);
}
**Programmers Technique**
Modular Programming is one of the techniques programmers use to shorten their programs. Instead of writing very long algorithm, programs are contain into a chunk, a modular procedure. The functions dit(), dat(), and pause() are all procedures put into functional modules. This means that instead of writing all the sketch in every module inside the void loop() section, we simply use the shortcuts: dit(), dat(), and pause().
Challenge:
1. Sketch a program using a speaker that will produce the morse code sound for I LOVE YOU.
2. Sketch a program with a push button that will mimic the morse code for I LOVE YOU.

Procedure:
1. Build the prototype as shown above
2. Run the Arduino Interface
3. Select File > New
4. Copy Code # 13 above
5. Paste Code #13
6. Click File > Save
7. Click Verify
8. Click Upload
9. The RGB led will blink on and off like a morse code.
Disclaimer: We shall not be liable for any loss or damage of whatever nature - direct, indirect, consequential, or otherwise - which may arise as a result of your use of any information on this website. However, if you are interested in using any of the projects for personal or educational purposes, please inform the author by email.
Public Domain Notice: Copyright (c) 2000. All rights reserved. This article is part of a book entitled iHackRobot. Copies are welcome to be shared or distributed publicly as long proper citations are observed. Please cite as follows: Biotronics: The Silver Species, Joey Lawsin, 1988, USA.
==================================================================
Patent Pending. 2000 © ®
A L.A.W.S.I.N. Educational Production
No comments:
Post a Comment